Catalog
INTRO TO THE CATALOG
The Catalog is an advanced feature of the Digital Signage Presentation Software. It allows you to go through a sequential number of items or products, presenting them dynamically to the viewer along with text and other Components.
We constructed one Catalog as an example so you can have a basic understanding of it. Before we demonstrate how to build a Catalog from scratch, let's take a look at one and see what it does and it works.
Under the Campaign's area, in the Timeline, we see the Catalog Player is assigned to a particular channel.
|
|

We'll double click the Catalog Player so we can access its properties and click the Play button from the main Outputs area.
If you are just starting with the software, you might want to go through chapters preceding this one, and come back to the Catalog component after you master the application as the catalog is a more advanced feature.
|
|
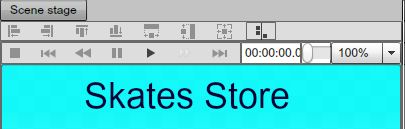
In this example we sampled a store selling skates. When we clicked on the Play button the images and text located below played sequentially and dynamically in the Preview area; essentially flipping through a list of products. The catalog is an internal database of items with data and images associated with each individual item. With the catalog we can flip through these products while sorting for selected group of items.
|
|

You can see the different images of skates, different prices, the stock status, and the description. All this is powered by the Catalog.
The advantage of using the Catalog is so you can add hundreds or even thousands of products to a presentation; easily and without having to configure each item individually; you only create a single template.
The catalog template will allow you to preview the products without having to recreate each template for each single product. Also supported are categories; create subcategories of products to be viewed within the Catalog.
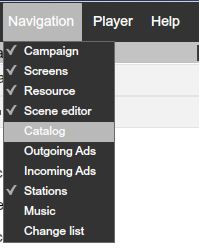
To use the Catalog feature, on the file menu enable the Catalog so it appears in the SignageStudio Navigator menu.
|
|
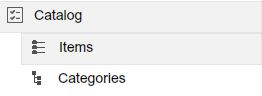
The Catalog category has two subcategories:
-1. Items
-2. Categories
|
|
ITEMS
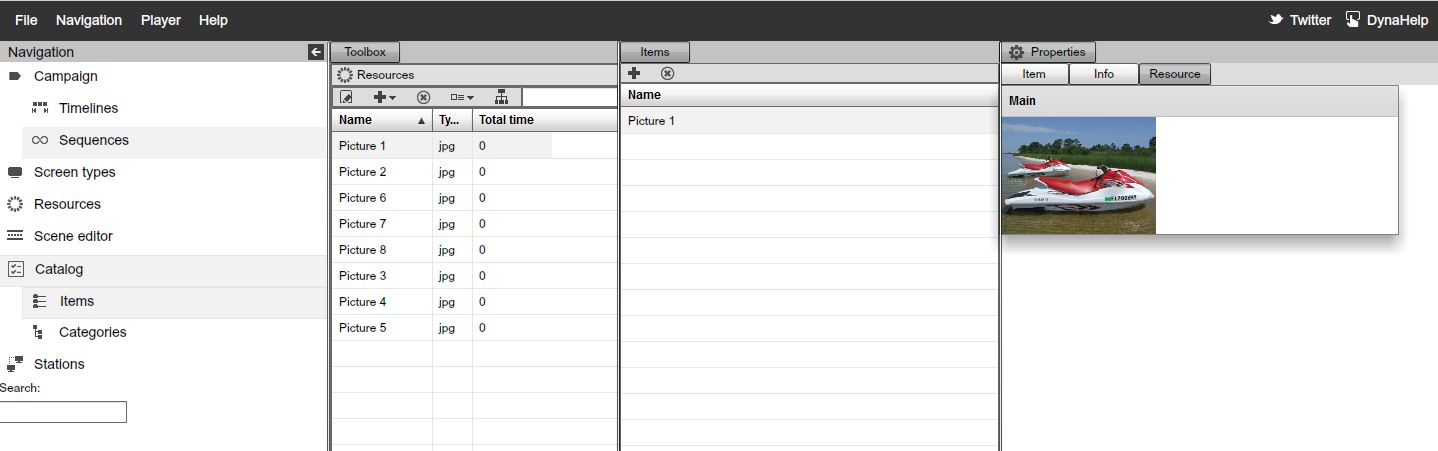
Whenever you enable the Catalog option in the main navigation menu, the Items subcategory will be open by default. Under the Items subcategory, there are four different sections.
-1. The items search feature
-2. The toolbox panel
-3. Items area
-4. The properties panel
|
|
First, we will briefly discuss each of these sections and then we are going to give an example of how to build a new Catalog from scratch.
ITEM SEARCH
To build a Catalog you can take advantage of resources. In the above example, we used images with skates as our resources. Sometimes, you may have hundreds or even thousands of products in your Catalog and if you want to search for a particular Item it may be difficult, so you can use the Catalog search feature.
The search option is located on the left side of the Catalog section.
|
|
To search for a particular item, simply enter its name on the search box and only this item will be displayed in the Items section (acts as a filter). We will discuss the Items section later in this Chapter and demonstrate how the search feature works.
TOOLBOX PANEL
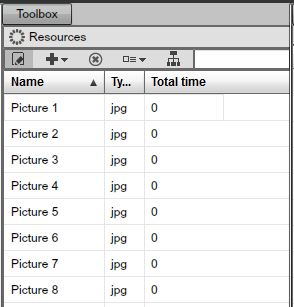
The toolbox panel is located by next to the main Navigation menu. The toolbox contains the Resources directory.
In our example, we've imported and saved to the server several Pictures of different skates.
|
|
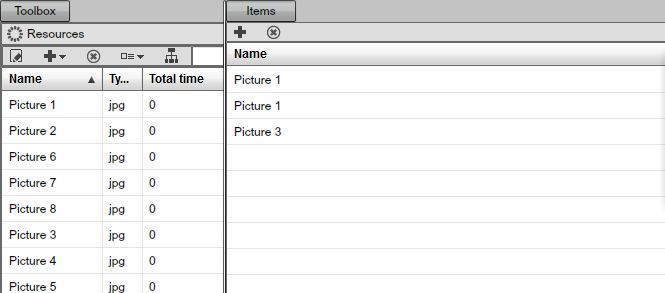
ITEMS SECTION
The Items section is located next to the Toolbox panel, in the center of the Catalog section of the SignageStudio.
|
|
In this section, you'll be adding products that are part of the Catalog. In our case, the products are the Skates images we imported earlier using the Resources directory.
- 1. The ADD Button
- 2. The DELETE Button
- 3. The NAME Directory
ADDING ITEMS TO THE CATALOG
There are two ways you can add Items to your Catalog.
- 1. Using the Add button
|
|

- 2. Drag and drop Resources
ADD BUTTON TO ADD ITEMS
To add resources to the Items section you can click on the ADD button.
|
|

After you clicked on the Add button, notice a new Item has been added to the list.
|
|
assign a resource to it, change its name and settings.
DRAG AND DROP TO ADD ITEMS
Another option you can use to add items to your Catalog is by dragging and dropping Resources directly on to the Items area.
You can also click on several Resources while holding down the Ctrl key on your keyboard to select them and then you can drag them to the Items area.
Another thing you can do is to click on one Resource to select it, hold down the Shift key on your keyboard the click another resource to select multiple Resources in the list and add them to the Items directory.
|
|
After new items are added to the Catalog, you can assign new names and apply additional settings.
DELETING AN ITEM
To delete an Item you select it and then click on the DELETE button.
|
|

ITEMS PROPERTIES PANEL
The last section of the Catalog area is the Items Properties panel. The properties panel of an item will be visible only after you create the item; either by using the Add button or by using the drag and drop options we've discussed earlier. Whenever you add a resource to the Items area the Resource becomes bound to the Item.
If you click on a particular item after you've added it to the Items directory, you'll be able to access its properties panel.
|
|
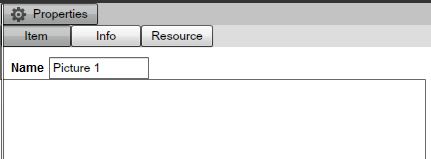
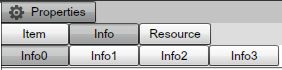
The three sections of the Property panel are:
- 1. Item
- 2. Info
- 3. Resource
|
|

ITEM SECTION
If you click on the Items tab, you'll gain access to the name field.
|
|
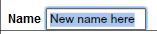
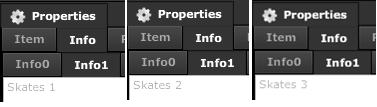
RENAME ITEM
To rename an Item, select it and type the new name in the Name field (located under the Item section of the properties panel.
|
|
INFO FIELDS
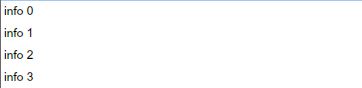
After you select an Item, if you click on the Info tab, you'll see four tabs:
- Info0
- Info1
- Info2
- Info3
|
|
Each info section will contain the information specific to the item. You can use these fields for anything you want, like item price, item cost, item description etc.
For example, let's type in the Info1 the price of the selected item. We'll do this operation to all the items. Each item holds its own unique Info.
To enter any kind of information in the Info sections, click on the Info tab and enter your text below.
Under the Item0 section, we'll type a price for the respective product.
|
|

Under de Item1 section, we'll type a name to describe the product.
|
|
We'll leave the other two Info sections empty, but you can enter any type of information you want in all four Info fields.
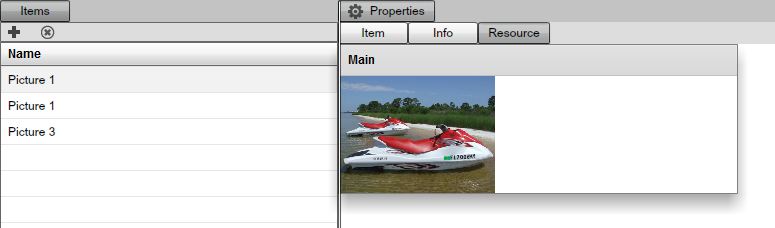
RESOURCE SECTION
Select the Resource section of the properties panel, you'll be able to see a preview of the Resource associated with the selected Item.
|
|
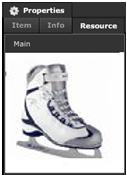
If you added a new Item by dragging and dropping a Resource in the Items category, you'll be able to see a preview of the item.
|
|

|
|
ASSIGNING RESOURCE TO AN EXISTING ITEM
|
|

You'll assign a resource by selecting one in the Resources directory from the Toolbox panel, drag and drop it to the Resource preview area of the Property panel.
If you've added a new Item to the Catalog directly using the drag and drop operation instead of the Add button, and want to replace the existing Resource associated with the respective item, you'll also use the drag and drop it over the existing resource.
CATEGORIES
The Categories section is where you get the real advantage as you will be able to filter and present only a subset of items.
|
|

The Categories section will allow you to create different categories and associate each product to one or more Categories.
In our example we are selling Skates; Girl Skates, Boy Skates and unisex roller blades. We can associate each product with different Categories. For example, you can create a category called New Products and associate new products (regardless of gender) with this category, every time new products arrives.This allows you to dynamically show new products in your Presentation simply by associating a new product in the proper category.
The Categories section has two main areas;
-1. The Categories Directory
-2. The Properties Panel
|
|

CATEGORIES LIST
ADDING NEW CATEGORIES
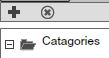
If you look at the Categories directory, you'll notice an empty Folder named Categories.
|
|
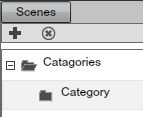
To add a new Category, you must click on the Add button.
|
|

Click the Add button to create a new Category.
|
|
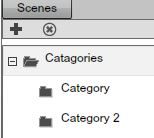
You can rename the Category through its Properties panel.If you want to add another Category, first you select the main Categories' folder, and click on the add button once more.
|
|
SUBCATEGORIES
To build a more organized Catalog, you can create Subcategories. If you want to create a Subcategory, select an existing Category (not the main Categories folder), and click on the Add button once more.
When you click on the ADD button, a new dialog box appears.
|
|
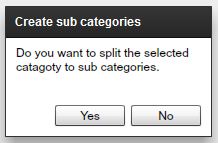
If you click YES in the dialog box, the selected category will become an actual folder and a new Subcategory will appear under it.
|
|
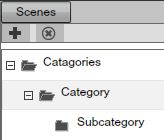
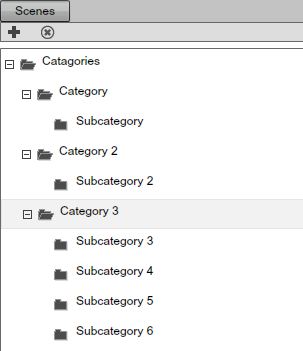
Select the Category folder instead of the main Categories folder and you click on the Add button, another Subcategory will be added.
You can add as many Categories and Subcategories as you like to keep things organized.
|
|
DELETING CATEGORY / SUBCATEGORY
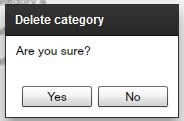
To delete a Category or Subcategory, you select it and then click on the DELETE button.
|
|

When you click on the Delete button, a new dialog box appears.
|
|
CATEGORY PROPERTIES PANEL
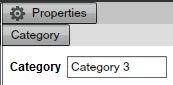
Whenever you select a Category or a Subcategory from the categories directory, you'll be able to access its properties panel and rename the category.
|
|
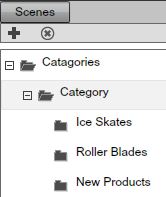
For our example, we'll create a single Category with three different Subcategories of products:
- Roller Blades
- Ice Skates
- New Products
|
|
ASSOCIATING ITEMS WITH CATEGORIES / SUBCATEGORIES
After weve created the Category and the three Subcategories form our example, we need to associate each particular product / item with the type of a product it is.
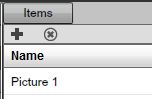
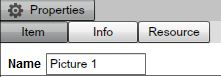
The first step in this direction is to access the Items' area and select the first product listed; which in our case is Picture 1.
|
|
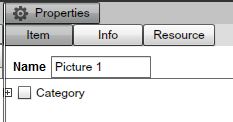
You'll notice in the Item section of the Properties panel of the selected item, under the Name field, our new Category.
|
|
Click on the arrow to expand the three Subcategories.
|
|
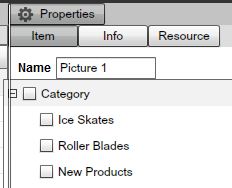
To associate the selected Item, which in our case is Picture 1, with a Subcategory, you select the checkbox next to the Subcategory name. We'll choose for our Picture 1 the Roller Blades Subcategory.
|
|

For Picture 2 and 3 Items, we'll choose Ice Skates.
|
|
Let's suppose Picture 3 Item is an Ice Skate, but also a new product. In this case, we'll assign the Picture 3 Item to the New Products' category as well.
|
|
You're able to associate multiple Categories or Subcategories with a single product.
We've covered all you needed to know about adding Products and creating new Categories and Subcategories of products. Next we will cover associating the Catalog with a Scene.
CREATING A CATALOG SCENE
After you've defined and named you products, associated your products / items with different Categories and Subcategories, you build a Scene which will contain your Catalog items.
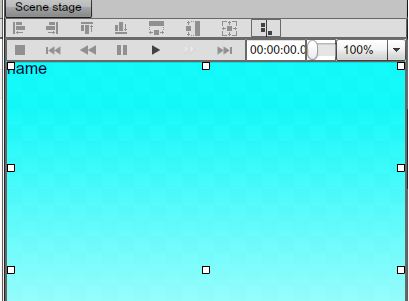
Using the Scene editor, create a Catalog template that will display all of the products. Later in this chapter, we'll discuss how to associate different products with the Catalog Scene, but for now, we'll be focusing on creating the actual Scene.
Create a new Scene, and name it My Skates.
|
|
Add a Background to the Scene.
|
|

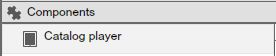
Under the Components directory, you'll see the Catalog item Component.
|
|
Drag the Catalog item Component into the Scene.
|
|
COMPONENT ITEM PROPERTIES PANEL
The Properties panel of a Catalog Item contains three tabs:
- Layout
- Common
- Item
We've already discussed the layout and Common sections; which are the same for all Components.
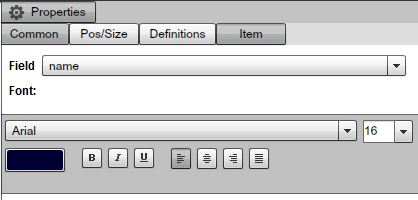
THE ITEM SECTION OF THE PROPERTIES PANEL
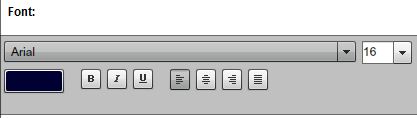
The Item section of the Properties panel contains several sections.
- 1. Field
- 2. Font style
- 3. Font size
- 4. Font Color
- 5. Text effects
|
|
THE INFO FIELD
When you add a Catalog item Component to a Scene, you assign a field to it. The field will be displayed by the Catalog item Component in your presentation.
|
|
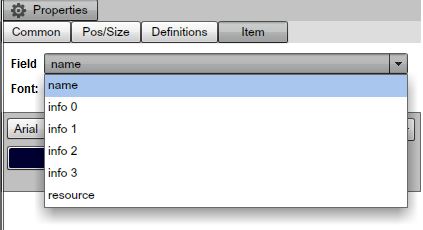
The fields listed here represent the fields we previously covered when we explained the Items area of the Catalog section of the SignageStudio.
|
|
The first field is the name field, corresponding to the name of the presented item.
|
|

The Info 0, 1, 2 and 3 fields correspond to the ones from the properties panel of the Item in the catalog section.
|
|
The last field represents the resource associated with the item.
|
|

The last sections are related to the font used to describe certain fields.
|
|
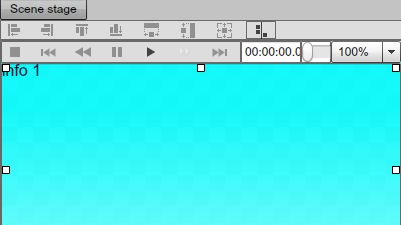
At this moment, we added one catalog item component to the Scene. Next, we'll assign a field to this Component.
Click on the Catalog item Component you've added to the Scene. Choose the Info 1 field from the dropdown list in the properties panel.
|
|

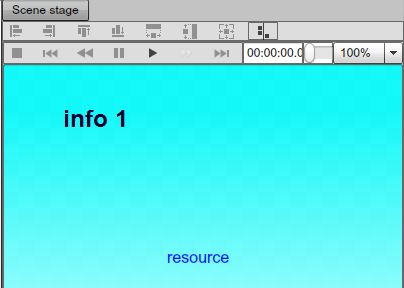
The description of the Catalog item Component has changed from name to info 1.
|
|
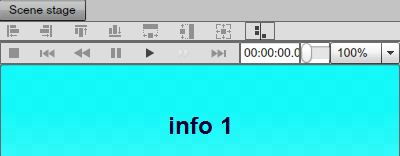
This means the Catalog item Component will display the data we've entered in the Info 1 section of the Items category. Remember, we entered a description for our Skates and named the respective product Skate.
|
|

Next, we'll change the color and font of the Info 1 description.
|
|
Now add another Catalog item component to the Scene and assign the resource field to it. It will display the resource in the Scene.
|
|

Now have the Resource in the bottom of the Scene and the description of the product on the upper side. Next, we'll add a new Catalog item component and assign the Info0 field to it. We have set in the Item section of the Catalog that Info0 field will contain the price of the products.
To continue with our example, we'll add the third Catalog item Component next to the Resource. We also changed the Font color, style, and size.
|
|
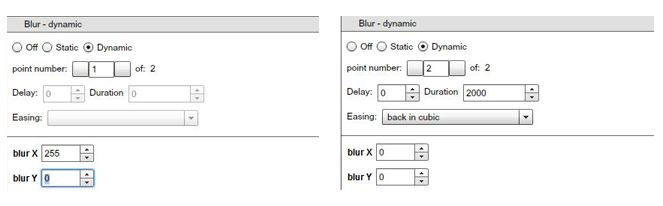
Another thing you can do after you've added Catalog item Components to the Scene, is to add different effects to these Components. Anytime a new product or a new item is sequenced in, we'll see this special effect.
Let's say we want the description field of the product to have a Blur effect. Select the Dynamic Blur effect and apply the following settings:
|
|
You can also add to the Scene any other static information like a standard label or RSS component for example.
|
|
At this point, we've created a template which will be used to show the description, the price and the resource / image of different products.
BINDING CATALOG TO SCENE
Next we will associate different products with the Catalog Scene we've created earlier in this Chapter. This will be done on the Campaign's Timeline.
First, click on the Campaign tab from the main Navigation menu to enter the Campaign section of the SignageStudio.
Add a new Channel to the Timeline or use an existing one to be associated with our Catalog. We already have a Channel on our Timeline and we'll rename it Catalog.
|
|

Next, we'll open the Toolbox panel and search in the Components directory for the Catalog player Component.
|
|
Drag the Catalog player Component to the Timeline, and onto the Channel named Catalog, and increase its length so it matches the length of the Timeline.
|
|

Now, double click the Catalog player to access its Properties panel.
CATALOG PLAYER PROPERTIES PANEL
The Properties panel of the Catalog Player has three sections:
- 1. Player
- 2. Common
- 3. Catalog
In previous Chapters, we've covered the Player and Common sections of the Properties panel. Now, we'll review the last section of setting up the Catalog.
|
|
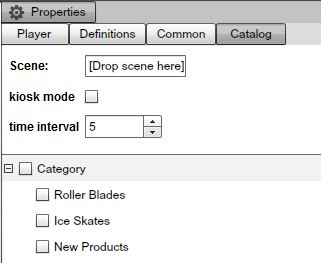
The Catalog section contains several fields:
- Scene Field
- Kiosk Mod Option
- Time Interval
- Categories Zone
SCENE FIELD
Similar to other Player Components (like the Weather Player for example) in the Scene field you bind a scene from the Scene's directory.
In our case, we will add the Catalog Scene we've created earlier. Drag and drop the My Skates Scene onto the Scene field. This will associate the Scene we created with the Catalog Player.
|
|

KIOSK OPTION MODE
The Kiosk mode feature is used to enable Kiosk functionality to the Catalog.
|
|

TIME INTERVAL
This is the time interval in seconds between Item iteration displayed by the Catalog.
|
|

You can increase or decrease the default time either by entering a numerical value in the designated field or by using the UP and DOWN arrow keys.
CATEGORIES
In this area you'll see all the Categories we've created in the Catalog section of the SignageStudio.
|
|
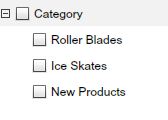
The next thing we'll do is to set up the actual Categories this particular Catalog is going to display.
As we mentioned, under the Catalog section of the properties panel, we have all the Categories created earlier.
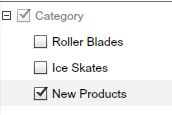
Let's assume we want this particular Catalog to show only New Products, not the Roller Blades or Ice Skates categories. For this, you select only the New Products category listed in the Properties panel.
|
|
Now, if click on the Play button from the main preview area of the Outputs, you'll see the catalog Player display sequentially all the Products / Items and descriptions associated only with the New Products category.
|
|
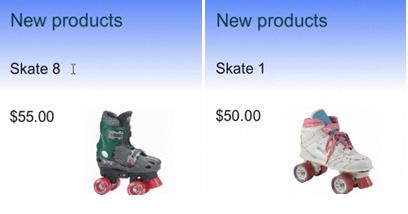
You can add additional items to this New Products Category to easily present newly received products.
You can also check all the Categories and the Catalog will play all the Products we have in our Catalog setup; not just the New Products category.
|
|

As you can see, the Catalog is a very flexible feature that allows you to easily cycle through thousands of items easily; create a single Template and use it everywhere.
In future releases we are going to make the Catalog even more powerful. You'll have 3D objects, rotating carousels, many new dynamic product displays, sorting capabilities, interactive widgets and more.
Copyrights MediaSignage© Inc