Branding
BRANDING
In this chapter we cover Branding (also known as White Labeling or Private Label). This feature allows you to take the entire mediaCLOUD Enterprise platform and host it on your own website, simply by copying and pasting a snippet of HTML code that's embedded with your own ERI code.
The hosted solution will include your customized SignageStudio Logos, customized SignagePlayer splash screen, customized textual info, customized link backs and more; making MediaSignage transparent to your customers.
Branding is only available to subscribers of the mediaCLOUD Enterprise edition. So with White Labeling existing customers can login to their accounts through your web portal and new customers can open new accounts on your site as well.
The MediaSignage mediaCLOUD platform becomes your hosted software that is still streamed down from our mediaCLOUD servers, but with no reference to MediaSignage, thus providing an anonymous Digital Signage solution to your business.
At MediaSignage we go to great lengths to make sure we keep it all private. We use 3rd party domain names, hidden reverse name looks ups and encrypted ERIs to deliver transparency to your product.
WHITE LABEL SETUP
The first thing you do to create the White Label solution is to open a mediaCLOUD Enterprise account. Once you are logged in to the EnterpriseStudio, click on the Settings tab from the main Navigation menu.
|
|
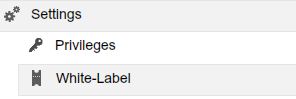
Under the Settings tab:
- 1. Privileges
- 2 White-label
We covered Privileges in a previous chapter.Select the White-label to proceed.
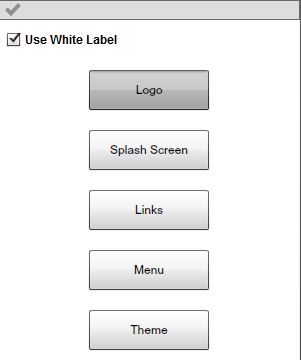
Select the White-label checkbox to enable the feature.
|
|

Next you can change and set parameters including:
- 1. Logo
- 2. Splash Screen
- 3. Back Links
- 4. Menu
- 5. Theme
Access each category by clicking on the corresponding tab
|
|
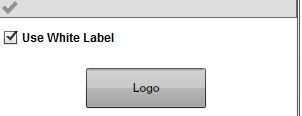
So with White Labeling you can use your own Logo on both the login screen and inside the SignageStudio. Click on the Logo tab to access its setting.
|
|
You can set:
- Name
- Logo
- Logo tooltip
- Logo link
The Name field is used to display the name of your company in different areas of the application.
|
|
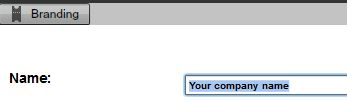
Users logged in under your Enterprise account will see your business name instead of MediaSignage Inc.
In order to use your own Logo, click on the browse button located next to the MediaSignage logo, search for a logo in your computer, and upload it.
|
|
The Logo has to be 175 x 100 pixels in size and it can be any format accepted by our platform including jpg, png and swf. The Logo will be displayed in the Help > About window, save dialog and login screen.
The logo tooltip field will be visible when a user hovers the mouse over the Logo.
|
|

You can use the logolink field to enter a linkable web address for the Logo.
|
|

Whenever you make a change, remember to click on the Save button in order to update to remote server with your changes.
|
|

SPLASH SCREEN
The Splash Screen allows you to display a custom swf file on your remote SignagePlayers whenever they are updated / restarted.
|
|

Click on the browse button to search for a swf file on your PC and save it onto the server.
|
|
As of current release, the Splash screen must be an Adobe Flash swf file.
In order to use a custom Splash Screen you need create one outside the SignageStudio. You can use different applications like Adobe Flash, Adobe Flex, Adobe illustrator and others.
We recommend you use a vector based swf so it scales proportionally to any screen size.
LINKS
With White Label you can also add your own SignageStudio links.
These include:
- Application links
- Twitter link
- Live Chat link
Select the Links tab.
|
|
|
|
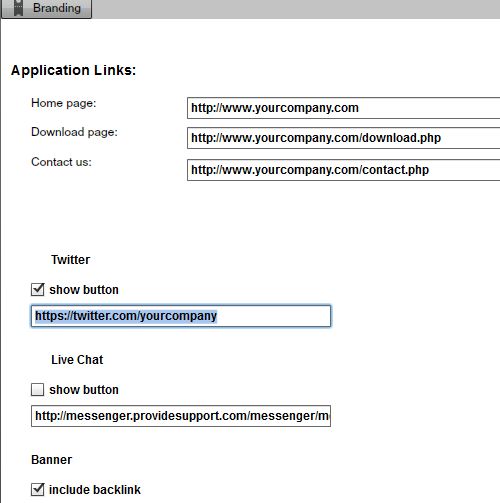
The application links include Home page, Download page and the Contact page.
|
|
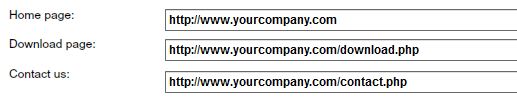
The home page is accessed when a user loges out of the SignageStudio and presented with a link to your to a website.
The Download page is accessed from the SignageStudio whenever a user clicks on the Player > Install SignagePlayer Desktop version link. So be sure you redirect it to your Install / Download page on your own web site.
|
|

The contact us page redirects users to your contact web page.
In the Links area of the White Label section you can also add your own Twitter link and choose to enable or disable the Twitter button.
|
|
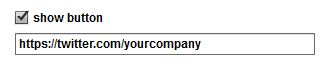
If you choose to enable the Twitter button, users logging onto the SignageStudio will be able to see the Twitter link and follow you.
LIVE CHAT
Add custom Live Chat link to provide live support to your users.
|
|
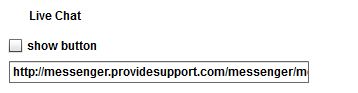
If you choose to enable the Live Chat button, users logged in under your Enterprise account, will be able to click on the Live Chat link and redirect to your support page.
BANNER
|
|
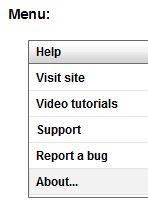
MENU
Modify the Help Menu links.
|
|
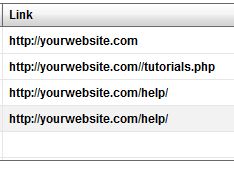
Set both the name of the link and the link URL address.
|
|
|
|
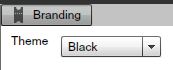
THEME
Access the Theme by selecting the Theme tab. Can choose between two themes: White and Black
|
|
|
|
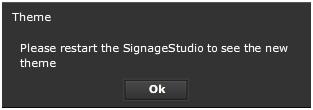
After choosing a theme, you will be prompted to restart the EnterpriseStudio for changes to take effect.
|
|
|
|
|
|
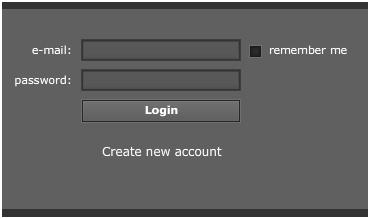
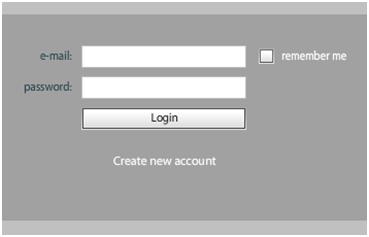
The color themes will apply to both the EnterpriseStudio and end user SignageStudio.
Next we explain how to setup a Web portal so users can both log-in to existing accounts, and open new accounts directly from your website.
WEB PORTAL
Select the file menu > Tools to access the White-Label HTML page.
|
|
Click the white-label page button.
|
|

Copy the HTML code and paste it into Notepad.
|
|
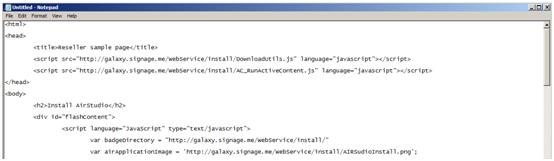
Save the document to the local PC. This HTML snippet will be part of your own website, so you will need to upload the HTML file to your personal hosted web server. You do not need any special web server capabilities such as scripting or secure SSL pages. Simply upload the HTML file as it to your hosted web server.
|
|

Open the HTML file using any web browser.
|
|

The page provides all the necessary links for your users.
|
|
|
|
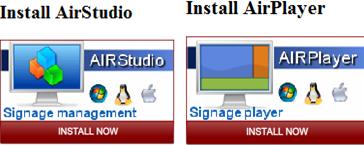
This buttons are:
- Installing the SignageStudio Desktop version
- Installing the SignagePlayer Desktop version
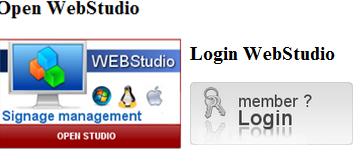
- Launching the SignageStudio Web version
- Login to the SignageStudio Web version
All the graphics for the buttons and links can be modified. Look at the HTML source code to make changes.
HTML SNIPPET
The HTML snippet includes the ERI (Enterprise Reseller Identification) which identifies your account.
|
|

When you create a mediaCLOUD Enterprise account an ERI will be generated for you. When customers create an account on your site through the HTML snippet embedded with your ERI, they will be automatically associated as sub-accounts of your Enterprise account.
Look at source code of the HTML snippet to both modify image paths and to view your ERI.
|
|

With MediaSignage you can easily brand the entire mediaCLOUD Enterprise solution as your own.
Set your own application links, menu links, custom logos, and color themes; make MediaSignage transparent to your customers.
it's your solution, we just provide the tools.
Copyrights MediaSignage© Inc